A banner is an announcement that can be viewed throughout various pages of the website, typically located on the top of the page. This can be useful when alerting the patients of dates the practice is closed, advertising upcoming events, and pushing traffic to other pages.
To create a banner:
Log onto the PracticeBeat Dashboard.
Click “Website” on the left side column; a drop-down menu will appear.
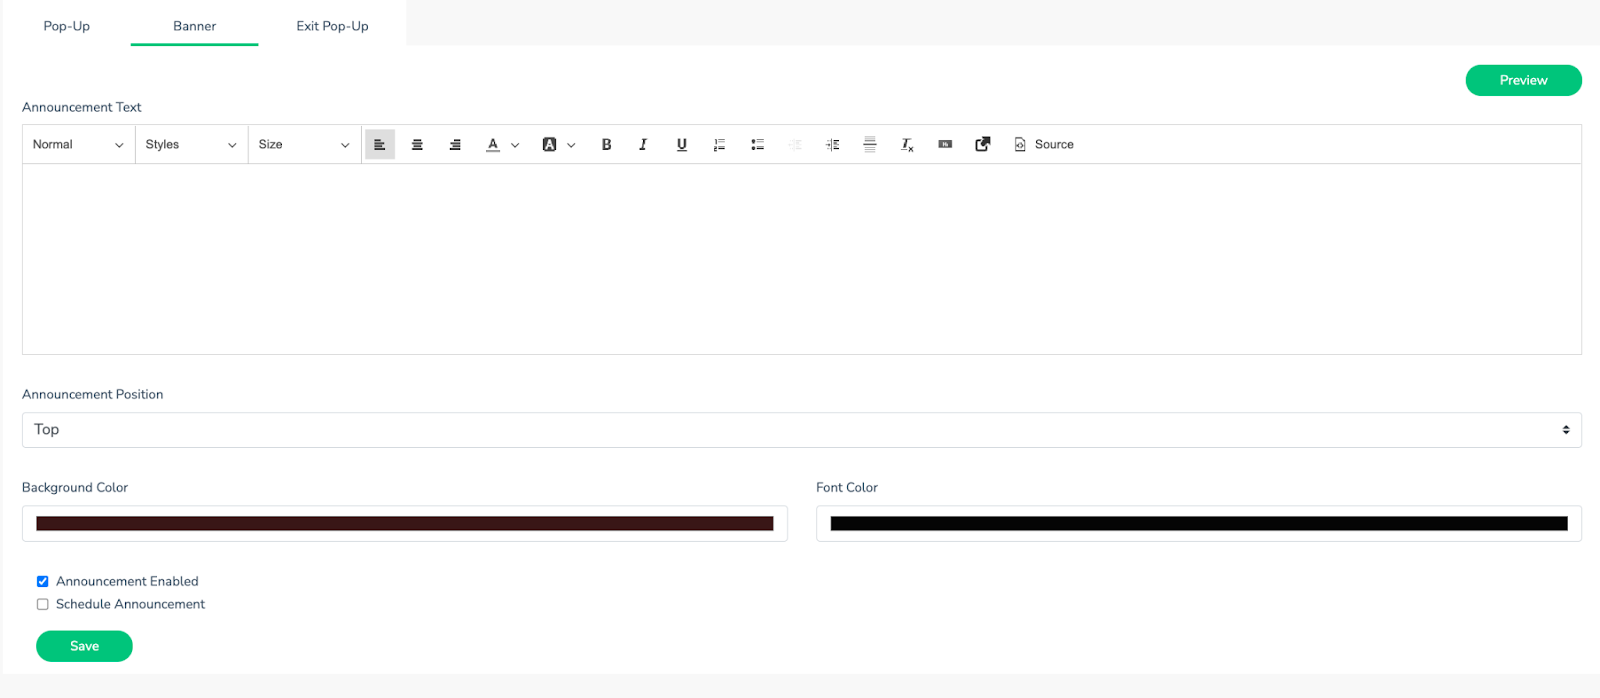
Click “Announcements”; on the right, a tab titled “Banner” will appear.
Write the text you want to display on the banner under the “Announcement Text” (Note the customizable formats, styles, and sizes accessible via the dropdown menus).
Toggle “Top” or “Bottom” underneath the “Announcement Position.” This is relative to the location the banner will appear on the homepage.
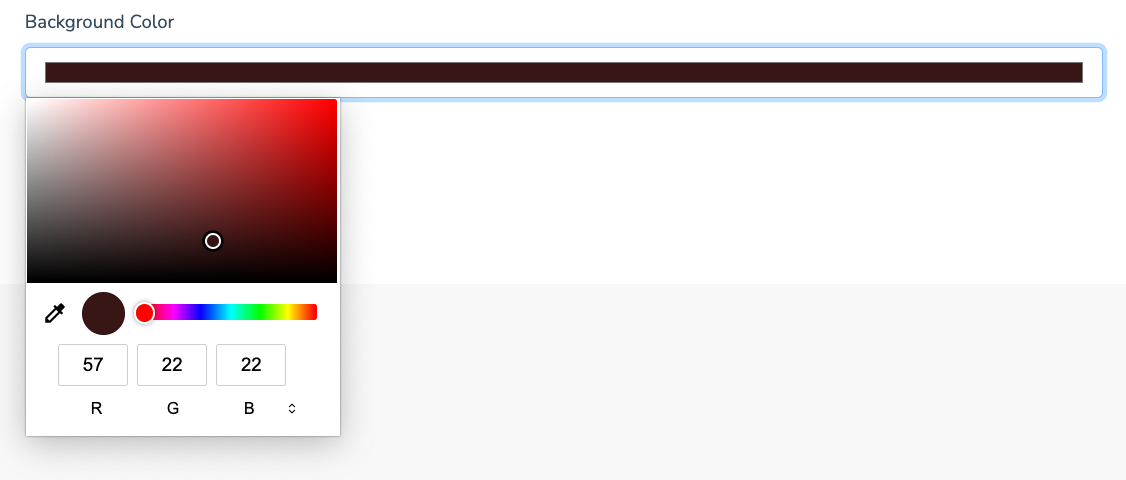
Select a “Background Color” for the banner by using the color picker tool.
Select a “Font Color” for the banner by using the color picker tool.
Check “Announcement Enabled” to immediately enable it on your website or check “Schedule Announcement” for a specific date range that you would like the banner to be live.
Click “Preview” to view your banner and make changes as needed.
Click “Save” to make your changes live on the site.


Was this article helpful?
That’s Great!
Thank you for your feedback
Sorry! We couldn't be helpful
Thank you for your feedback
Feedback sent
We appreciate your effort and will try to fix the article